Install the Give WP plugin
You can install the PayChangu Gateway for GiveWP plugin either in a quick way or manually install it when you don't have Internet access.
Quick installation
Complete the following steps to install the plugin directly from your admin dashboard:
- Log in to your Wordpress dashboard as admin.
- Navigate to Plugins on the left sidebar.
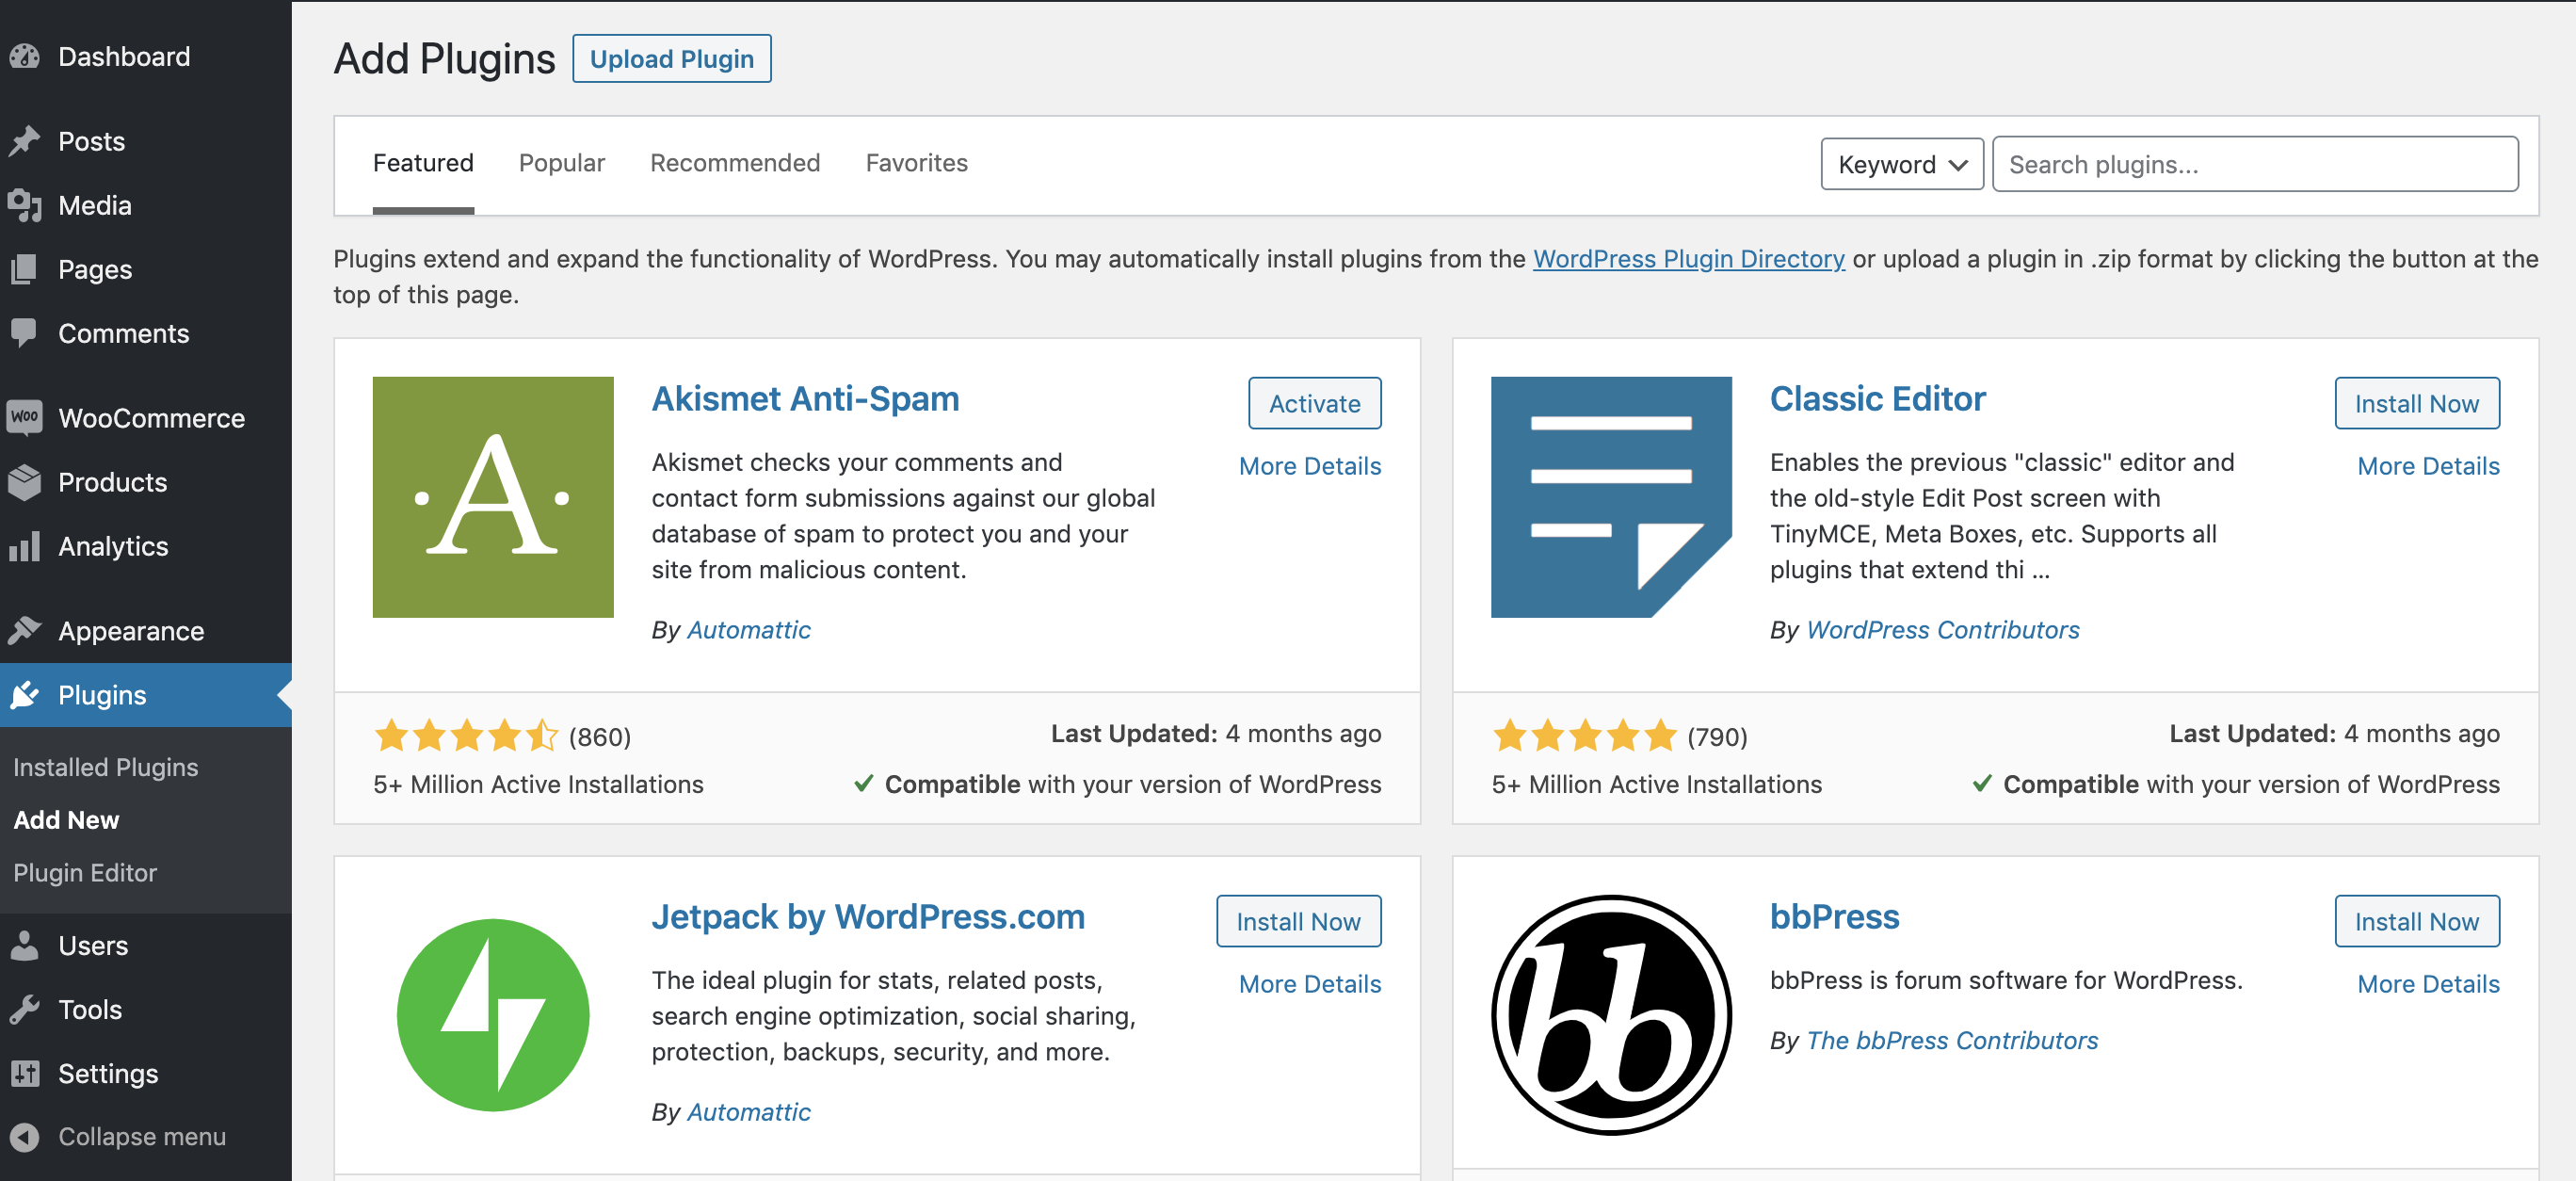
- Click Add New on the top of the page. You are redirected to the following page.

-
Type: PayChangu Payment Gateway for GiveWp in the Search plugins field on the top right. You should see the plugin in the search results.

-
Click Install Now to install the plugin.
-
Click Activate when the installation is done.
Success
Congratulations! You have successfully installed and activated the PayChangu Payment Gateway for GiveWp plugin.
Manual installation
- Download the latest version of the plugin from the WordPress Official marketplace.
- Log in to your Wordpress dashboard as admin.
- Navigate to Plugins on the left sidebar.
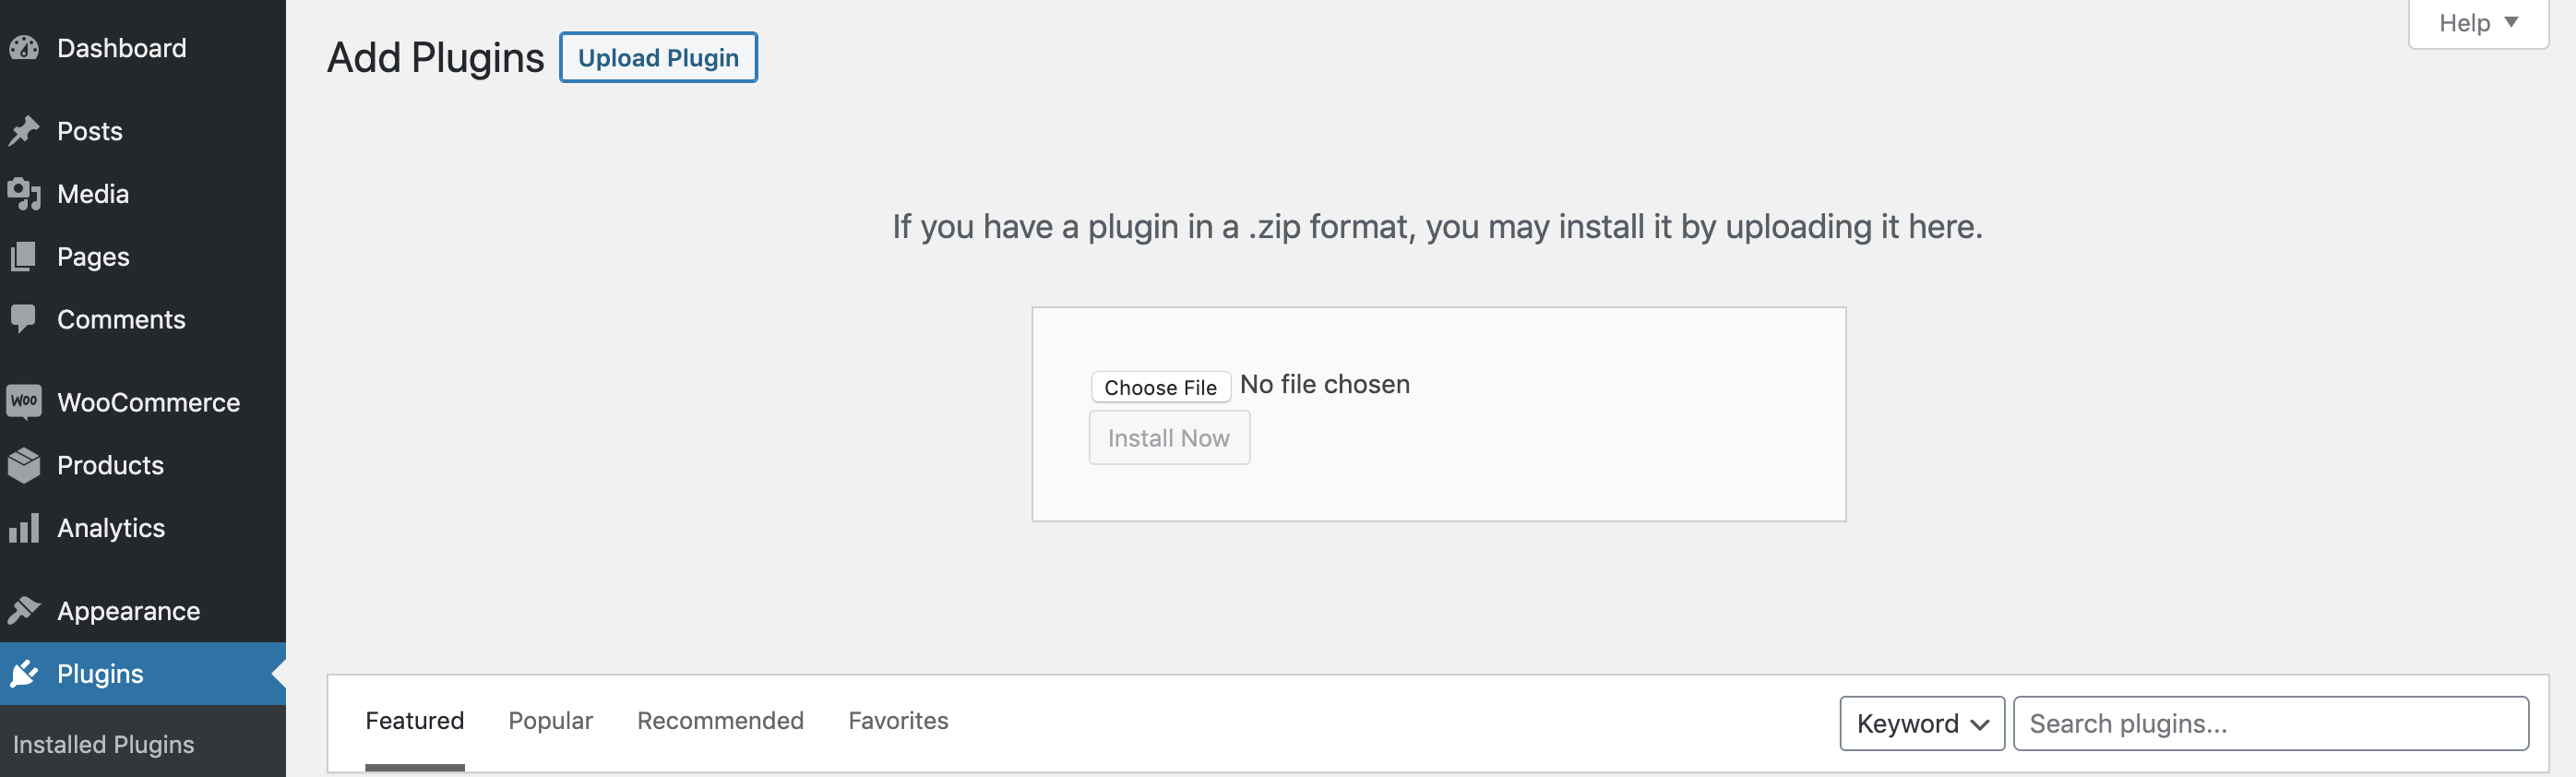
- Click Add New on the top of the page. You are redirected to the following page:
- Click Upload Plugin.
- Upload the plugin
.zipfile you downloaded at Step 1.:
- Click Activate when the installation is done.
Success
Congratulations! You have successfully installed and activated the PayChangu Payment Gateway for GiveWP plugin.
Configure the GiveWp plugin
- Click on “Donations > and click on Settings.
- From this page, click the “Payment Gateways” tab and choose PayChangu link. You will be presented with the Paychangu Settings Screen
- Configure your PayChangu settings accordingly.