Install the WooCommerce plugin
You can install the PayChangu Gateway for WooCommerce plugin either in a quick way or manually install it when you don't have Internet access to the WooCommerce store.
Quick installation
Complete the following steps to install the plugin directly from your admin dashboard:
- Log in to your WooCommerce dashboard as admin.
- Navigate to Plugins on the left sidebar.
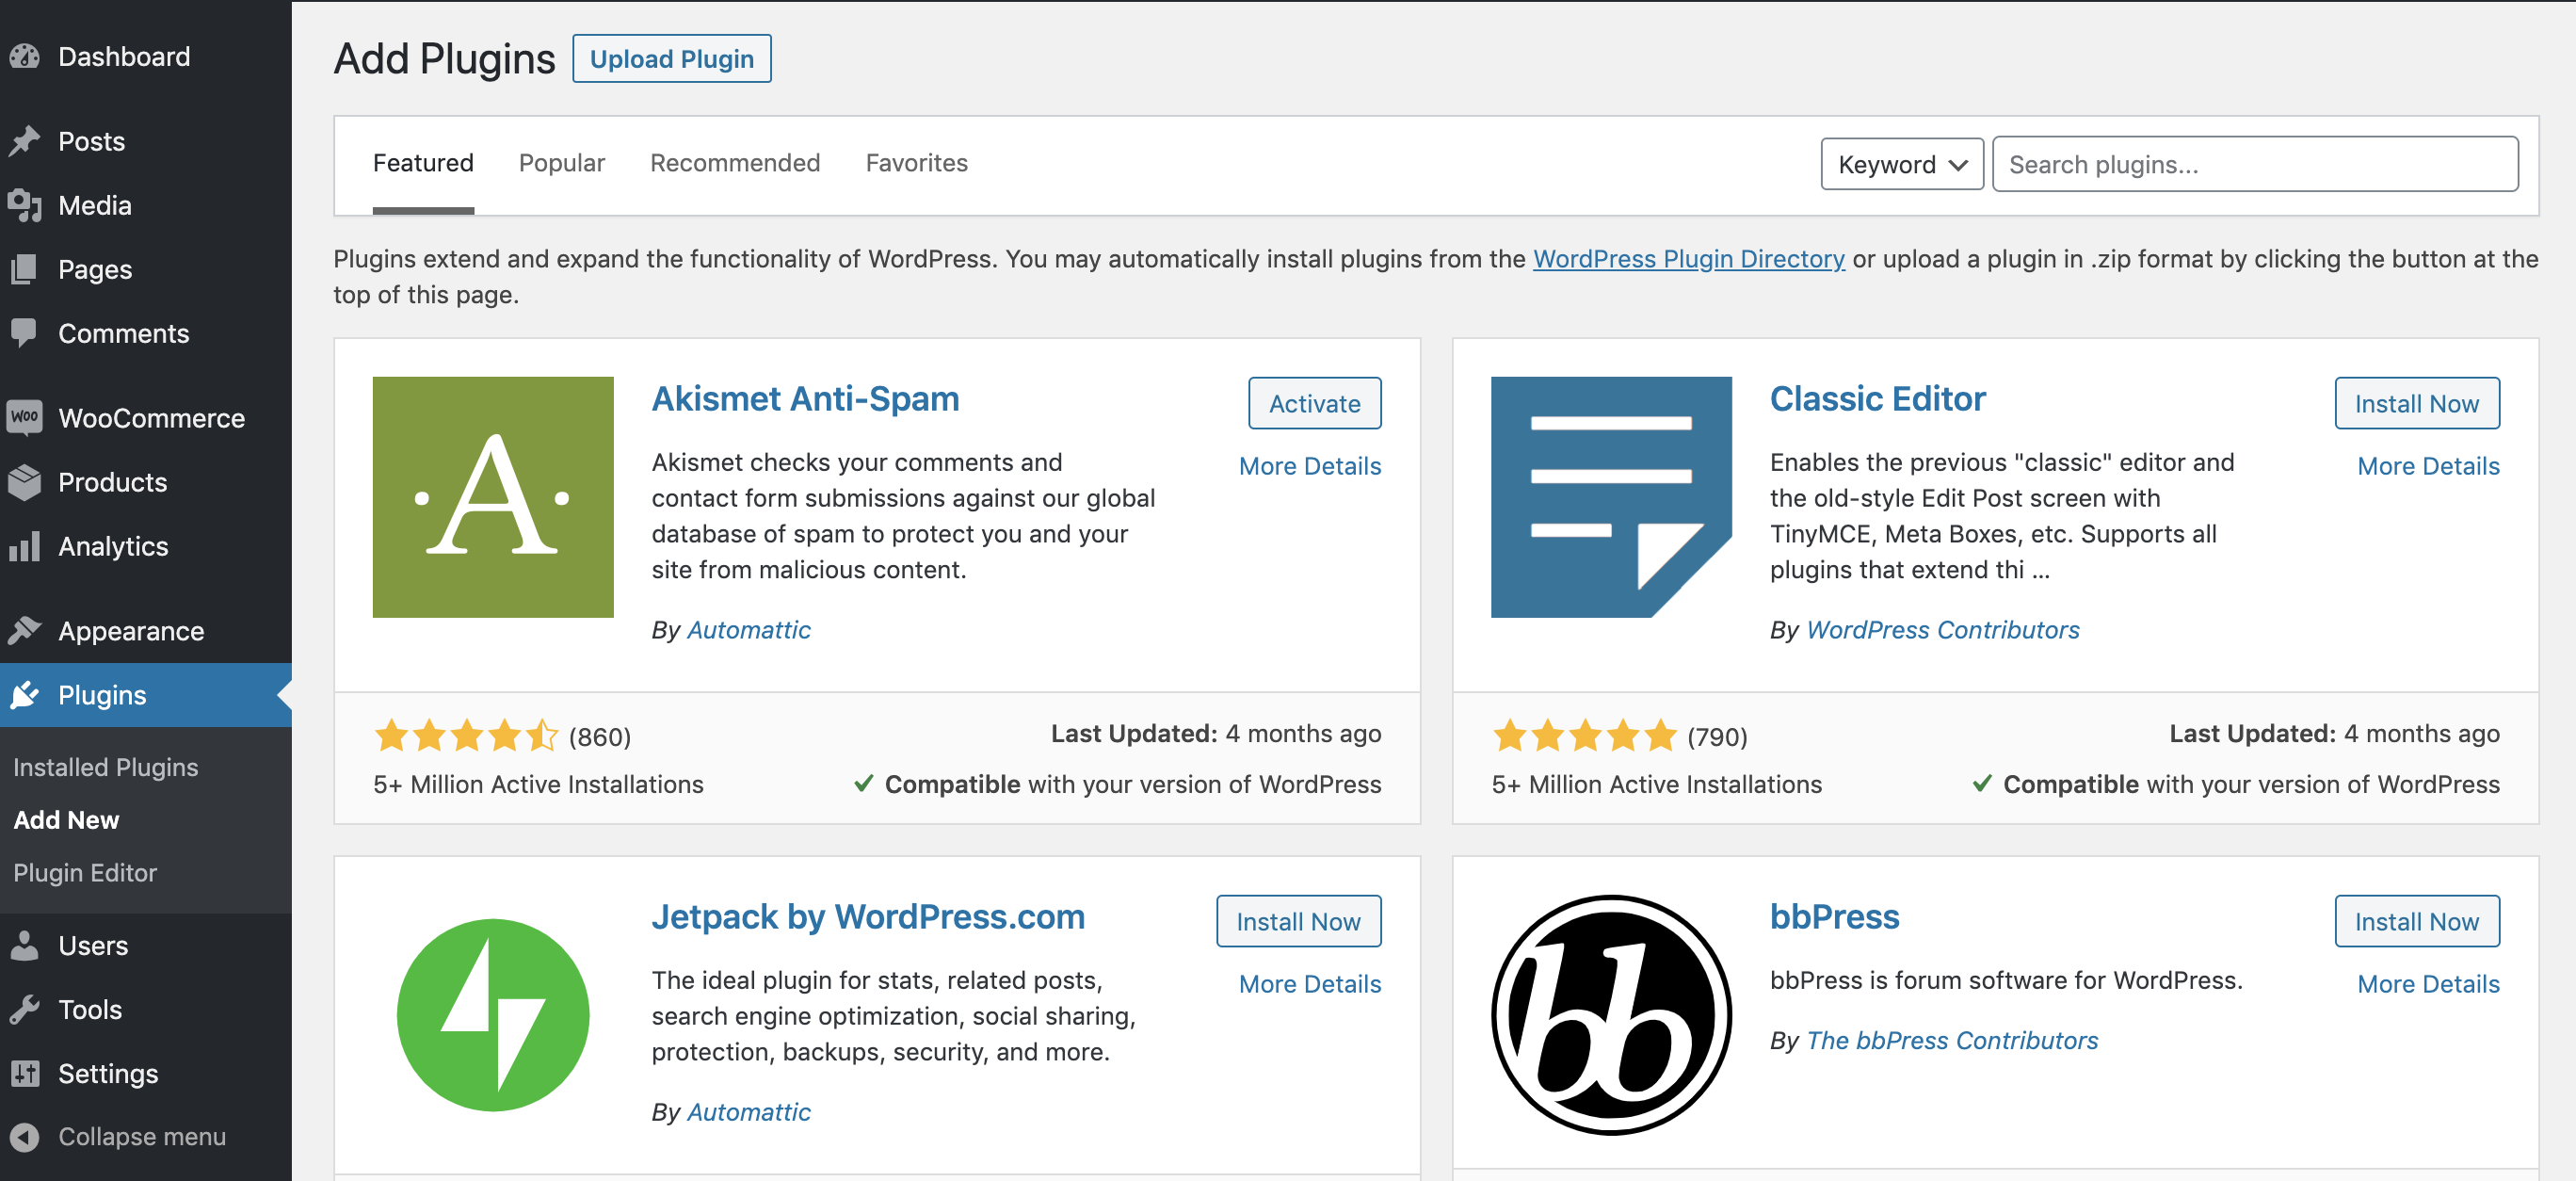
- Click Add New on the top of the page. You are redirected to the following page.

-
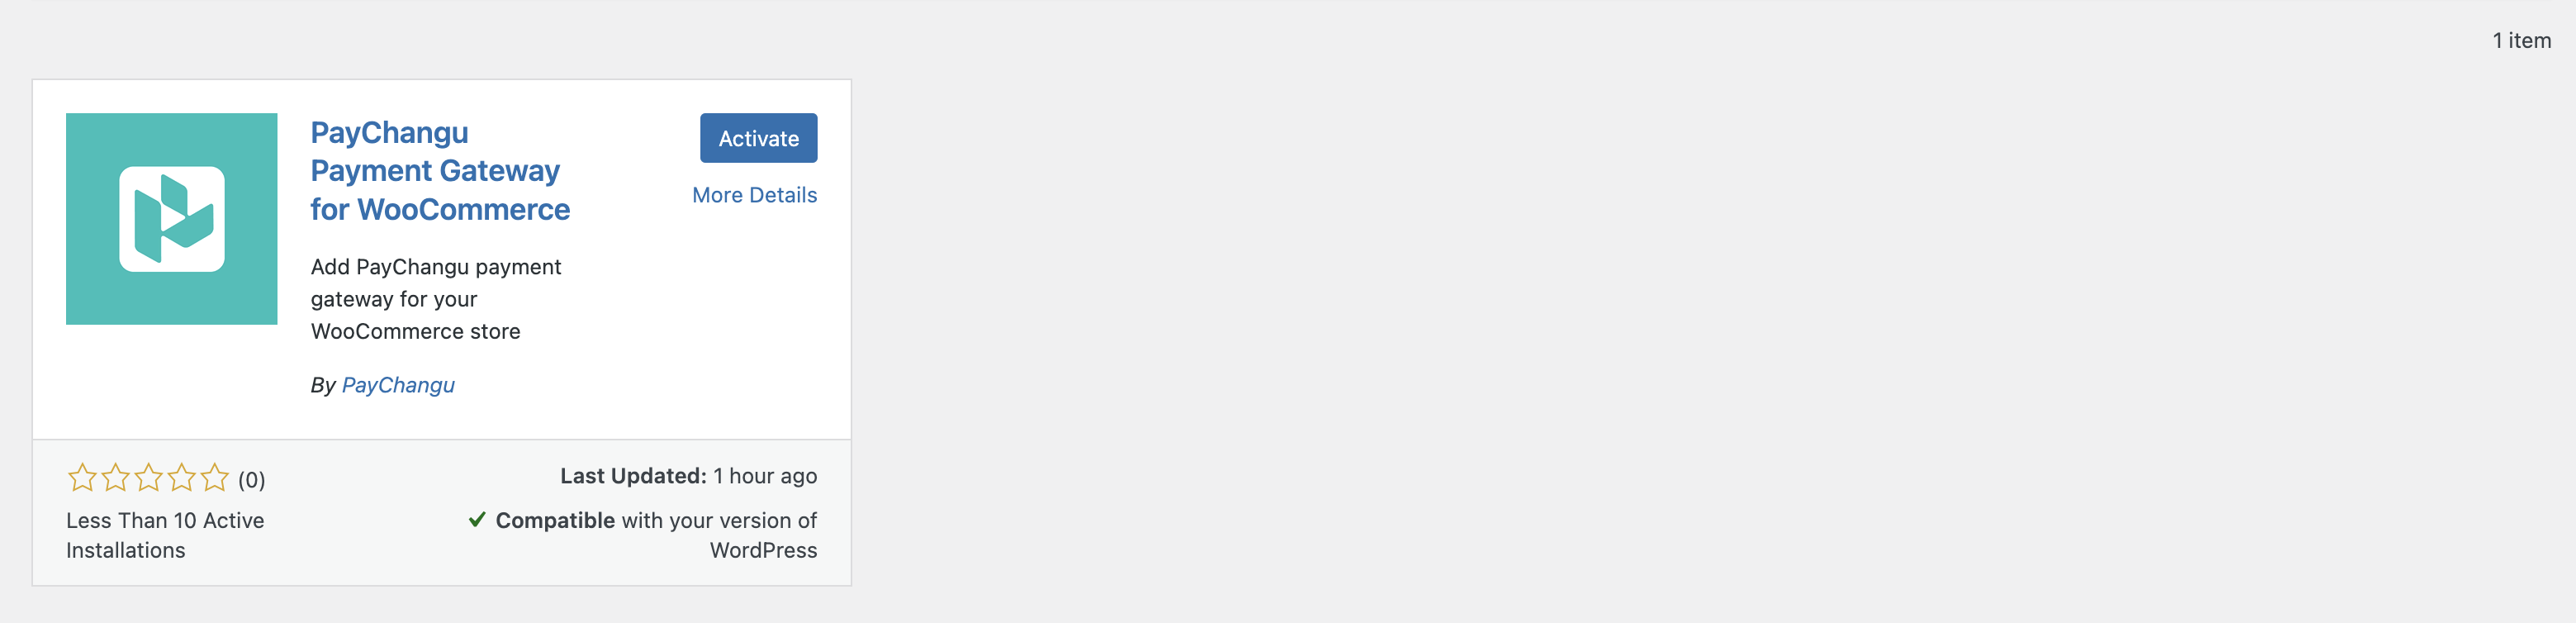
Type: PayChangu Payment Gateway for WooCommerce in the Search plugins field on the top right. You should see the plugin in the search results.
-
Click Install Now to install the plugin.
-
Click Activate when the installation is done.
Success
Congratulations! You have successfully installed and activated the PayChangu Payment Gateway for WooCommerce plugin.
Manual installation
- Download the latest version of the plugin from the WordPress Official marketplace.
- Log in to your WooCommerce dashboard as admin.
- Navigate to Plugins on the left sidebar.
- Click Add New on the top of the page. You are redirected to the following page:
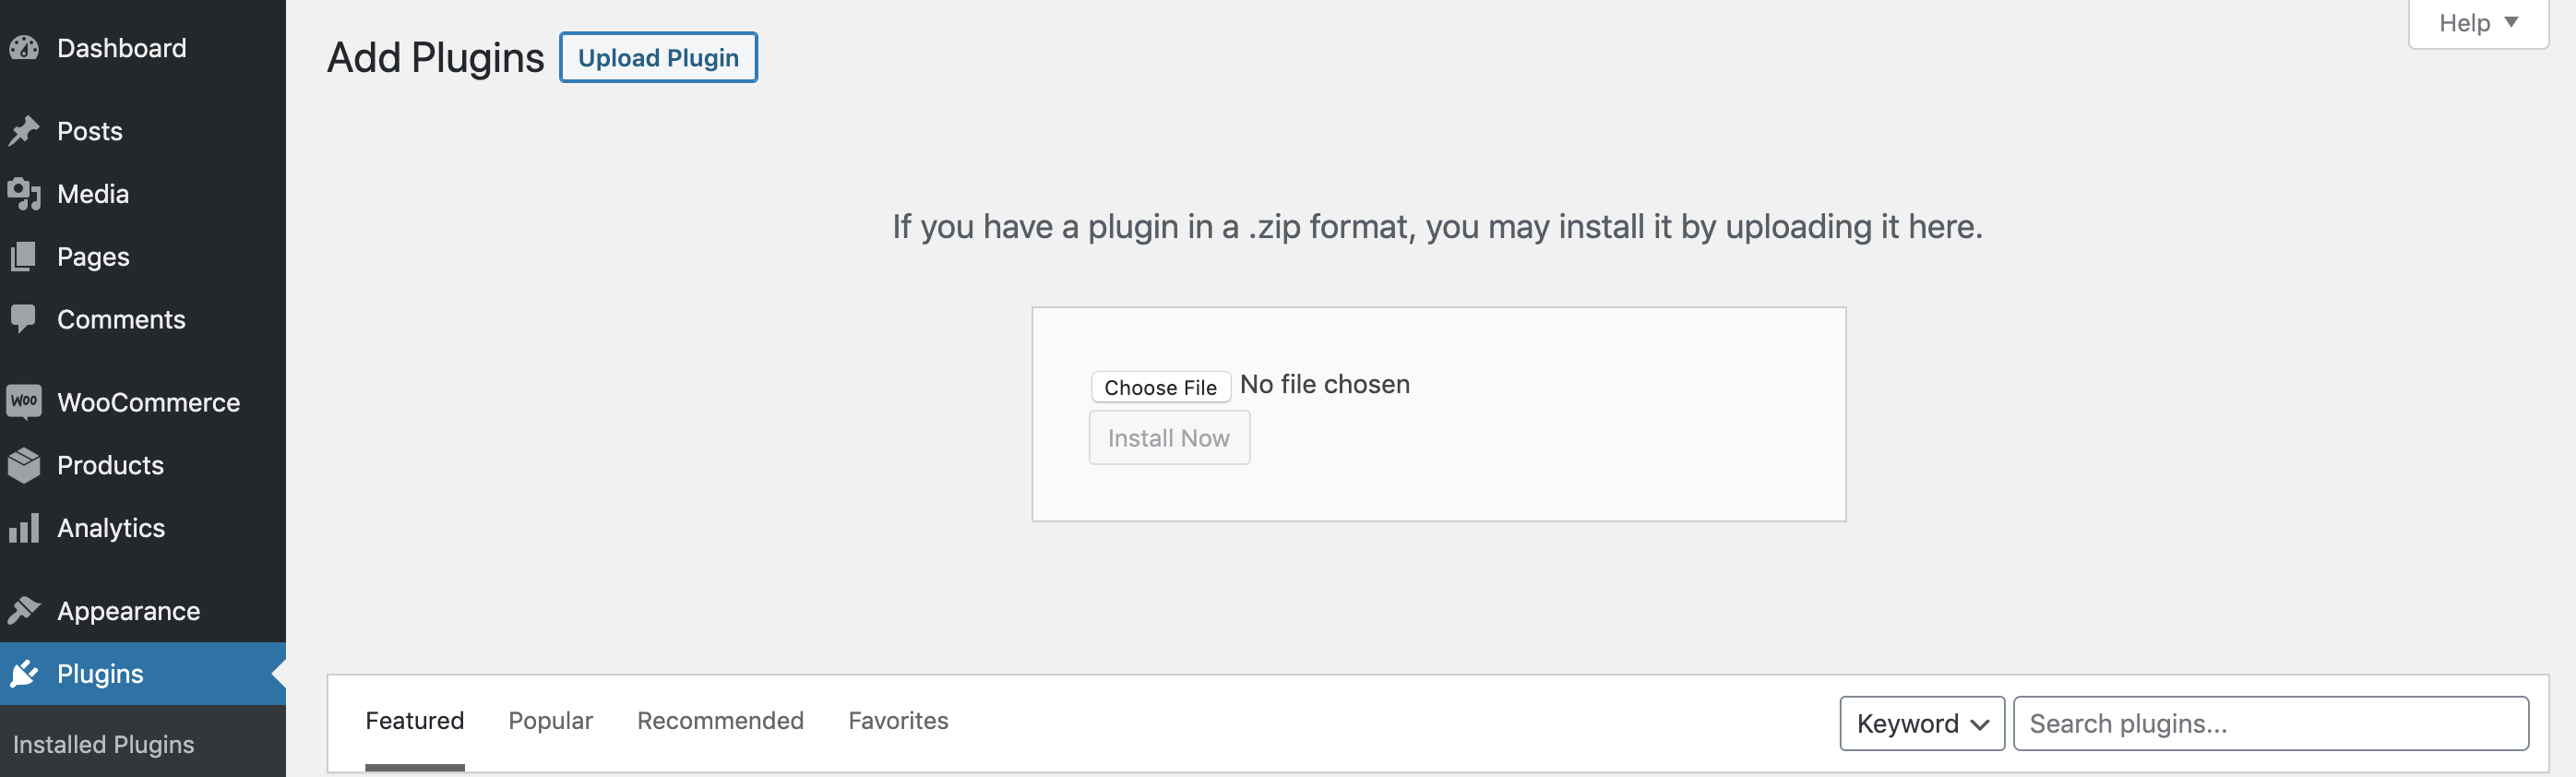
- Click Upload Plugin.
- Upload the plugin
.zipfile you downloaded at Step 1.:
- Click Activate when the installation is done.
Success
Congratulations! You have successfully installed and activated the PayChangu Payment Gateway for WooCommerce plugin.
Configure the WooCommerce plugin
- Click on “WooCommerce > Settings” from the left menu and click the “Payments” tab.
- Click on the PayChangu link from the available Checkout Options
- Configure your PayChangu settings accordingly.